How We Rebuild Kirby Vacuums Last Updated: 05/28/2009
Kirby vacuum refurbishing varies from shop to shop. Some shops will disassemble the unit down to the last screw while others only dust the vacuum exterior for looks. Our goal is to provide a good looking and in perfect mechanical condition Kirby vacuum at a reasonable price.
Disclaimer: Goodvac.com is not affiliated with The Kirby Company and/or The Scott Fetzer Company. All manuals and maintenance tips for Kirby vacuum cleaners and repair manuals for Kirby model vacuums are authored by GoodVac.com and are not endorsed or approved by the Kirby vacuum manufacturer - Kirby Company and/or The Scott Fetzer Company. These materials should be only used at your own discretion and risk. . Read our "Terms of Use".
We will just use an average looking Kirby vacuum cleaner to give you an idea how they are being rebuilt here. Sometimes they may be much better looking when we get them (as we later noticed mechanically this unit was just perfect) sometimes they are worse.
Kirby vacuums that are ruined - left in flooded basement, used with broken fan for extended period of time so motor has just fallen apart or just incredibly filthy - we use for parts. Over the years we had a few units we had to just discard. There is nothing out there that could not be rebuilt but the cost of parts and labor may be a greater amount than the sale price. Therefore, you can be sure - you will not end-up with a unit that was thrown out of the 18th floor or was raised from the bottom of a lake. It is just not cost effective to rebuild them.
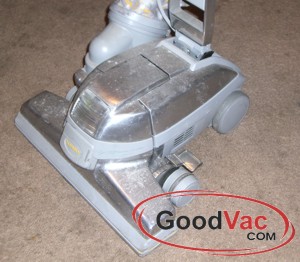
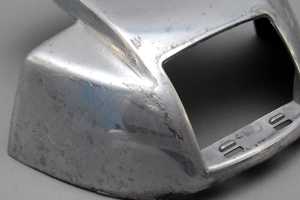
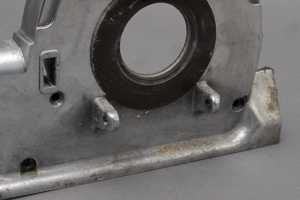
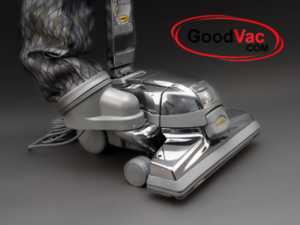
Back to our sample - as you can see the aluminum parts are oxidized and it has a few deeper scratches on the shell . Just an average-looking Kirby before it goes through our rebuilding process.
Nothing major on the bottom of the unit. Looks like this one will come out just perfect.
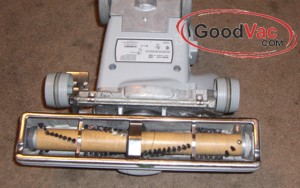
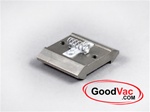
We test how the transmission is working by turning the Kirby vacuum on and pushing it back and forth in "Neutral" and in "Drive". This one runs well. Occasionally the vacuum would need a Bracket-Cam (if on Neutral it makes unpleasant grinding noise). Occasionally slide and guide block cleaning and maybe slide bearings replaced if handle seems to "stick" when pushing or pulling. As you see the light is working fine here so no new light bulb is needed.
We then check all 32 feet of the Kirby cord to make sure there are no nicks and/or exposed wires.
See how Kirby motor should work
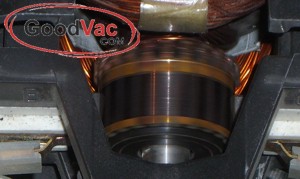
Then we test the motor while it is vacuuming. As you see there are no sparks flying so commutator is in very good shape and on this one we will skip checking carbon motor brushes out as judging by the commutator and how motor runs I am 100% sure that they are fine. Just in case you can not watch the video on the left here is a picture:
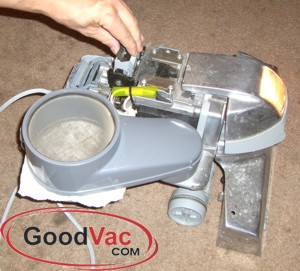
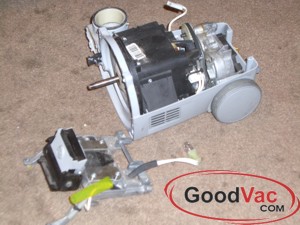
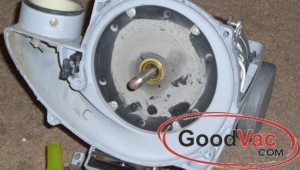
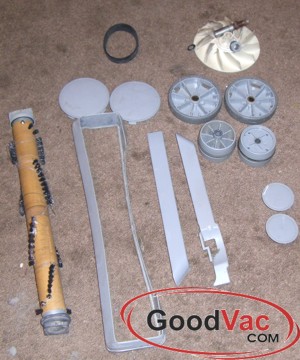
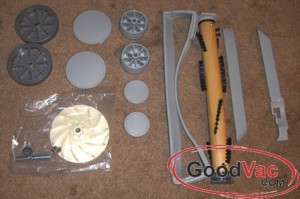
So these component parts will have to be vacuumed up (we will not be taking apart this Kirby vacuum any further as the unit was properly sealed and as you can see it only has some dust. Just the front of the motor under the fan blade has some dust stuck to the surface that will have to be removed with a moist paper towel. We usually use some glass cleaner as it loosens dirt better and dries out faster.
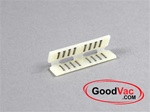
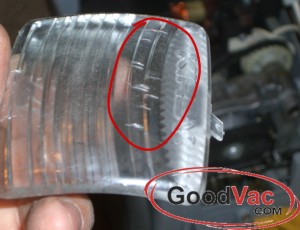
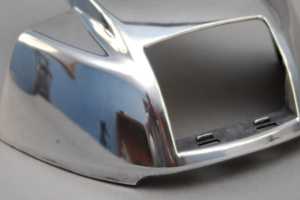
Headlight lens has a few deep dents so we will replace it just to make Kirby look its best.
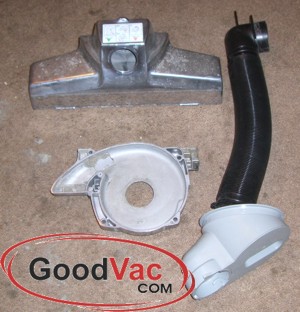
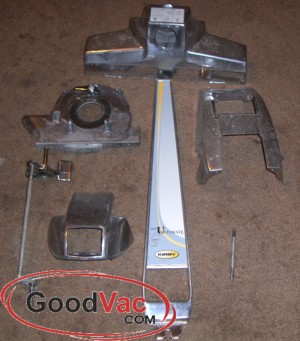
These parts usually have some dirt stuck to them so they will have to be washed. We usually use dishwashing soap.
All these parts will be buffed. Occasionally a headlight cap casting has to be replaced with a new one. This is due to very deep scratches if someone uses kirby upright to vacuum under the bed with metal frame. It leaves very deep scratches.
All this goes to the garbage or recycling bin.
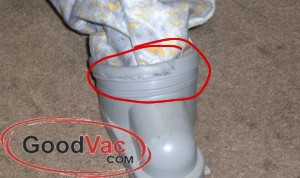
The vinyl on the cloth bag is a bit damaged. The damage is very minor so later we will use a bag guard to cover this cut. Tears that go through both layers of the vinyl and are 1/2" or more long are too big and we would be replacing the Kirby outer bag with a new one.
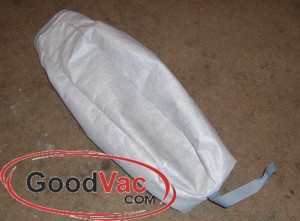
Next, the outer bag is turned inside-out. We take it outside and shake it very well and throw it in the washing machine on DELICATE. After washing it we air dry it outside.
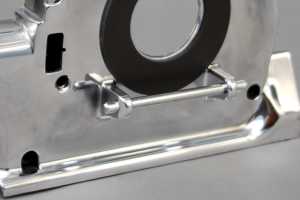
Then all aluminum parts get GOOD BUFFING
It is done on a professional 2 horse power buffer. It has 2 buffing wheels 1 - (the one in the picture) is cutting wheel. We apply some coarse compound and it gets all oxide and small to medium scratches out. 2 -soft wheel on the other end of the motor and this time fine polishing compound that makes the metal glisten.
Before buffing
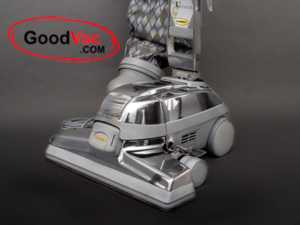
After buffing
Time to put everything back together We have all new parts ready.
Isn't he handsome? :)
Now we will test it once more. This time we will check:
How smooth nozzle can be lowered and raised (if the ratchet is well lubricated)
Move Kirby vacuum back and forth several times with transmission set to N and set to D just to make sure once more that it functions perfectly.
Make sure the light is on (all wires connected correctly)
Handle goes to upright position when released (spring loaded mechanism is functional).
Now it is ready to be packaged and shipped. We try to keep a few Kirby vacuums of each model prepackaged and available for immediate shipping.