Tools:- T20 torx screwdriver (older Kirby vacuums - Phillips screwdriver)
|
 |
1.
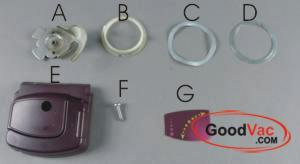
Make sure you have following parts: Kirby nozzle casting (not shown); A - Belt Lifter Hook; B - Plastic Belt Lifter Bearing; C - Belt Lifter Spring Washer; D - Flat Washer; E - Belt Lifter Body; F - Screw (on later models such as Kirby Ultimate G (Diamond Edition too) and Sentria screw is a bit shorter so the one you need is HERE; G - Label (usually included with belt lifter) |
 |
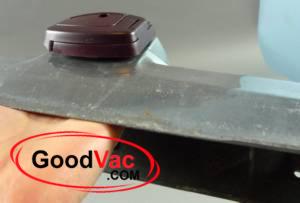
2.
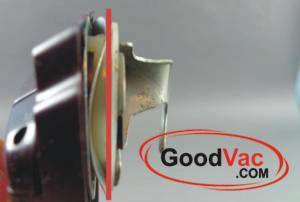
This is how Kirby belt lifter knob will look assembled onto the nozzle (red line is where the nozzle casing would be) |
 |
3.
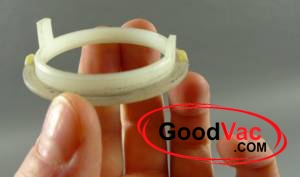
Lubricate the plastic Kirby belt lifter bearing. Any lubricant will be better than none. We use White Lithium grease, if you do not have it - use anything (vaseline, hand cream or even butter..). Put a little bit, just enough to prevent grinding noise but not too much so you would not have Vaseline dripping down the aluminum casting while vacuuming. |
 |
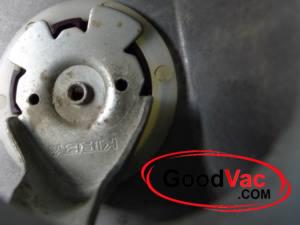
4.
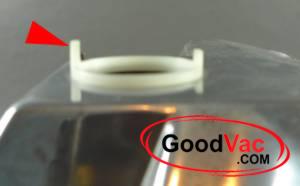
There are several kinds of these plastic Kirby lifter bearings made throughout the years but if it happens that you have the one with plastic protrusions that are different length - you need the longer one pointing toward the top of the Kirby nozzle casting and the shorter one toward the bumper (bottom). (bumper is off in the pictures but you do not have to take it off to install the knob).
You will have to remove the brush roll to access the opening from inside. For instructions how to install the brush roll go HERE. You will have to remove brush roll when you need to replace the broken belt some time in the future anyway so make sure you know how to install the brush properly. |
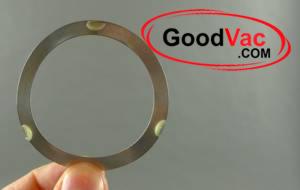 |
5.
Lubricate the spring washer from BOTH sides. |
 |
6.
Put it over the plastic bearing from the outside. |
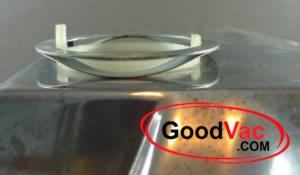 |
7.
Then the flat washer. |
 |
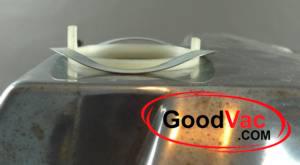
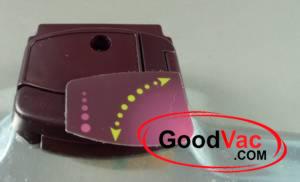
8.
Then the belt lifter body in the position as if it would be on the vacuum while vacuuming (Green arrows on the belt lifter and the label on the top of the nozzle aligned - "Belt On") |
 |
9.
While holding the belt lifter with one hand you may flip the nozzle now and position the metal hook so it would go into the belt lifter body. |
 |
10.
Then hold the hook, flip the nozzle back and insert the screw into the Kirby belt lifter. |
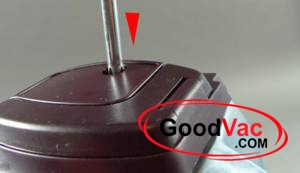 |
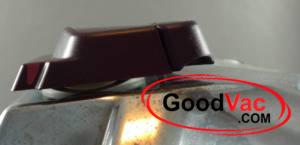
11.
You will have to give it a little push with the screwdriver to compress the Kirby belt lifter spring washer by about 1/8 of an inch for the screw to reach the metal hook. Turn the screwdriver till you will feel when metal hook touches plastic belt lifter body.
If you installing a brand new new metal hook you may want to put the screw through the hook prior the assembly onto the nozzle as new hooks have no thread and screw acts as a tap. |
 |
12.
Make sure you clean the belt lifter body well before applying the label so it sticks well. |
| CONGRATULATIONS - YOU ARE DONE |