Just to make sure that we use same vocabulary:
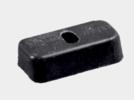
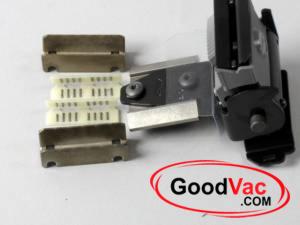
This is "Guide Block" (Kirby parts #178797s)
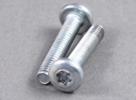
This is "Bearing Assembly" (Kirby parts # 178989s)
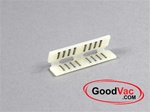
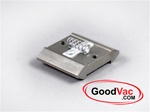
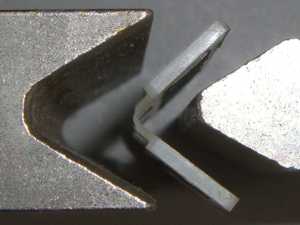
This is "Slide" (Kirby parts # 676595s)
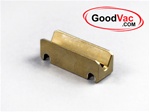
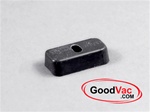
This is "Wedge" (Kirby parts # 179489s)
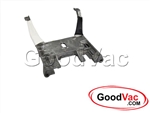
This is "Slide Bracket Casing" (Kirby parts # 849003s )
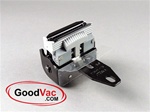
This is "Pivot Spring Assembly" (Kirby parts # 671901g )
FIRST unplug the Kirby from electric outlet!
|
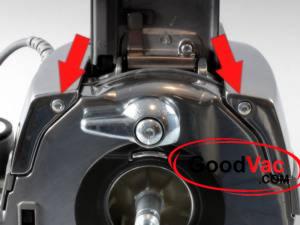 |
1.
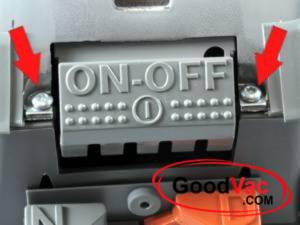
Remove 2 screws holding cover shell to front of the Kirby sweeper |
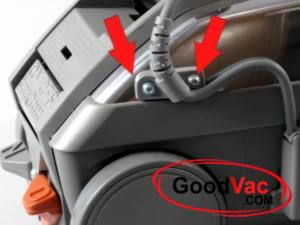 |
2.
Remove screws holding cord to the body of the vacuum. |
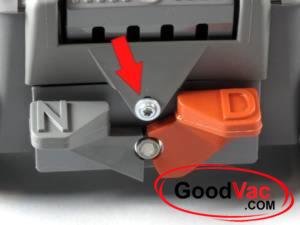 |
3.
Remove the screw holding scuff plate (plastic cover that goes around the handle and on/off switch) |
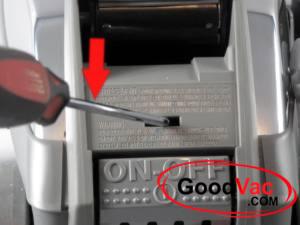 |
4.
In the opening put a screwdriver and push it a bit down to release a tab that is a part of the scuff plate and now the plate will come off. |
 |
5.
Remove 2 more screws that hold the aluminum cover shell onto the main vacuum body |
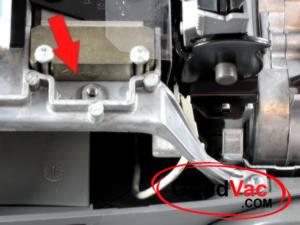 |
6.
Now you have access to the Kirby slide assembly. If this is how it looks - the parts are missing. You will need to purchase the wedge and the screw:
|
 |
7.
First clean parts then carefully inspect surfaces for wear. If slide and/or guide blocks are worn - replace worn parts. If parts are not worn but just very dirty or corroded you can use a fine sanding paper. I would say sanding paper #800 is perfect. Would not recommend using sandpaper with number less than #600. If you used sanding paper clean the parts of the abrasive residue before lubricating and assembling. Use just a little bit of lithium grease or bearing grease. If you put too much it will start leaking over the motor. |
|
8.
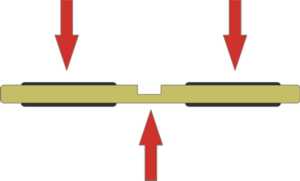
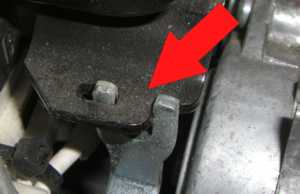
When installing pivot spring assembly make sure that bearing is properly oriented and the correct side is facing guide block. |
 |
9.
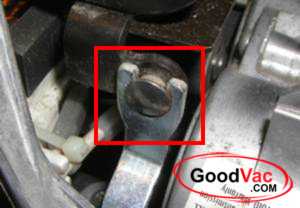
When lowering the parts into the frame - make sure that spring loaded pivot arm is properly engaged with the transmission lever |
 |
10.
This is in case if you are working on the older Kirby vacuum cleaner models |
 |
11.
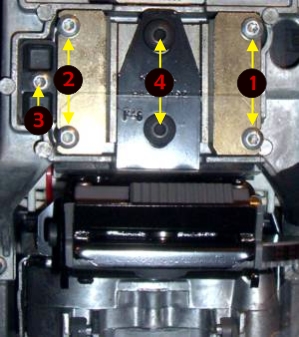
Now you have to adjust the tension in the handle slide mechanism. To do so follow these instructions:
a) Put in screws #1 and #2 but do not tighten yet.
b) Put the wedge in (tapered side to the taper on the slide bracket casing) and tighten screw #3 enough to get the slide to your right flush with slide bracket casting(frame you are assembling everything onto). c) Now tighten screws #1.
d) Loosen the screw #3 and the wedge and start tightening it again but this time no more than 1/4 or the turn at a time while checking how slide is moving. It has to be tight enough to not have any slack to the left or right. It still has to move to front and to the back. It has to move very easily and smoothly.
e) Now tighten screws #2
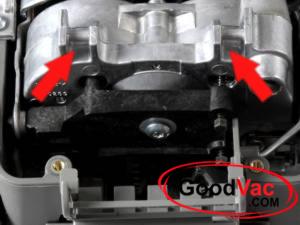
IF YOU HAD TO OR ACCIDENTALLY REMOVED "Pivot Spring Assembly" (part that is held to the slide with 2 big black screws #4 in the picture:
You have to adjust it when slide bracket casting and slide with bearings and guide blocks is already installed on the Kirby vacuum. (you can adjust them as described above later)
This pivot arm assembly has to be attached to the slide in the position where the slide does not reach slide bracket casting (frame) when moving pivot spring assembly back and forth.
When released it has to come back to the position where Kirby comes to rest even when transmission is set on "D". So when you release it the lever that comes out of the transmission and is engaged with the pivot arm has to be a bit loose.
If you attach the pivot arm to slide a bit too far to the front of the unit Kirby sweeper will shoot ahead and it will take much more force to get it moving in reverse (if possible at all). And if the pivot will be too far back - the opposite will happen. |
 |
12.
While you at it - we have noticed that ON/OFF switch pedal on new Kirby Sentria vacuum cleaners is also not lubricated. This may result in wear and braking of the pedal a bit sooner than it normally would if it was lubricated. Just put a halve of a drop of the lubricant you are using for slide onto the mounts where pedal clamps onto the transmission. |
| |
Now just assemble the shell back onto the unit and you are done.
If you would like us to perform the above described service - just print and fill out the service request form  and send your Kirby sweeper in (motor unit ONLY - no handle, no bag no nozzle) . It will be 59.00 USD and we also will ship you your Kirby Sentria vacuum cleaner model back at no additional charge (48 continental US states only). and send your Kirby sweeper in (motor unit ONLY - no handle, no bag no nozzle) . It will be 59.00 USD and we also will ship you your Kirby Sentria vacuum cleaner model back at no additional charge (48 continental US states only). |